
 I’ve known of the benefits of composting for a long time, but I wasn’t quite sure how to get started. Something about it seemed intimidating.
So I went to an expert (and her name is not “Wikipedia”).
Jennifer Kost-Barker is a certified Purdue Master Gardener, and incredibly passionate about the environment. She has been instrumental in starting and caring for a peace garden at our church in Carmel, Indiana. Produce harvested from the peace garden is donated to local food banks.
I asked Jennifer to write a guest post on Clean Chaos, to answer some of my questions on how to start composting. I know this is super helpful for me, and I hope it is to anyone else who wants to learn how to compost!
Composting 101
Guest post by Jennifer Kost-Barker
True confessions – I didn’t even know what composting was before I started gardening less than ten years ago. Now I can’t imagine throwing away our guinea pig litter, coffee grounds, banana peels and more because I know how much they help our garden soil when we compost them, not to mention how much we are helping out the environment by not adding to landfills. I get a thrill from creating something valuable out of things you would ordinarily throw away.
Benefits of Composting
So what is composting, and what are the benefits? Purdue University Dept. of Horticulture defines it as “a naturally occurring process that breaks down organic materials into a soil-like material.”
For central Indiana and other areas that have clay soil, compost is probably the easiest fix because clay soil can easily choke and drown plants during an especially rainy growing season. Amending your soil with compost will also give your plants access to more nutrients than they would otherwise get with a bag of store-bought soil. That said, if you do need to buy some soil, you can buy mushroom compost at many garden stores or online. A word of caution, please limit or abstain from buying peat moss, as it takes thousands of years for peat bogs to regenerate!
How to Start Composting
Composting is like following a recipe that a gardener makes up, based on the ingredients easily available. There is a certain formula that one needs to aim for in order to get that “Gardener’s Gold” that everyone talks about (and bonus: it really helps keep any odor to a minimum). Aim for at least 2/3 brown items to 1/3 green. An especially good time to start composting is in the fall, as you are cleaning up your garden beds and have access to tree leaves.
Examples of brown ingredients:
- small sticks
- tree leaves (shredded)
- soil
- sawdust
- shredded paper
Examples of green ingredients:
- tea and coffee grounds
- fruits and vegetables
- egg shells
- guinea pig or rabbit poop (NO cat or dog feces due to bacteria)
- plant trimmings (exclude diseased plants and weeds)
What do you need for composting?
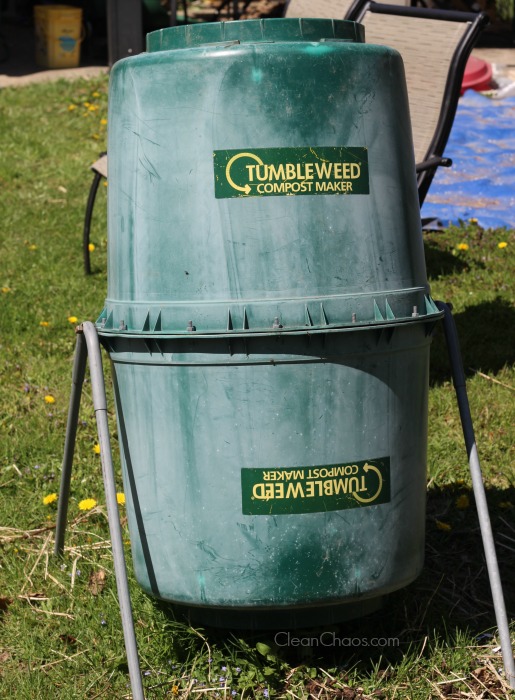
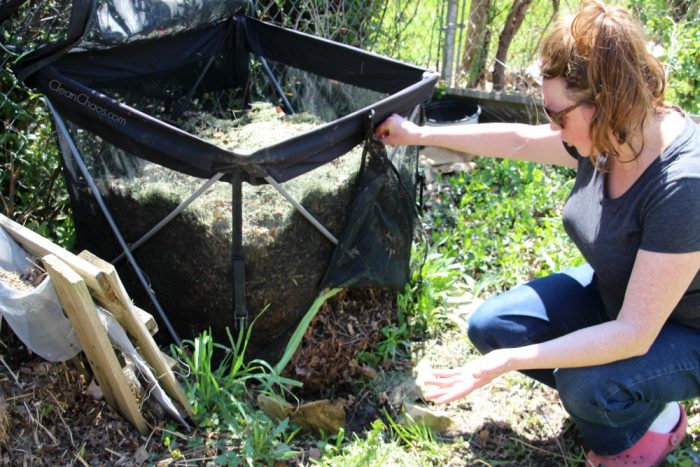
It’s ideal to have at least 2 or 3 containers or bins to rotate your compost through:
- A smaller one to add new material to (such as this kitchen container)
- A second container for turning and mixing (at least once a month); I use a tumbler.
- And a third to keep the compost that is “finishing” up (the best size is approximately 3′ x 3′). You can create one with fencing, or get a pop-up compost bin which is pretty affordable, the sides are breathable and you can pull your finished compost out of the bottom. I’m not a fan of the completely enclosed bins sold at hardware stores, because they don’t allow air to circulate and are more difficult to turn the pile.
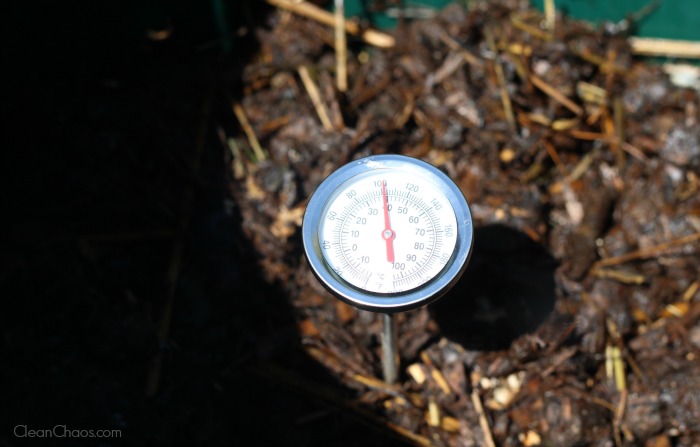
Also helpful is a compost thermometer to gauge the temperature of your compost and see when it’s ready, and a pitchfork for turning.
My Compost Process
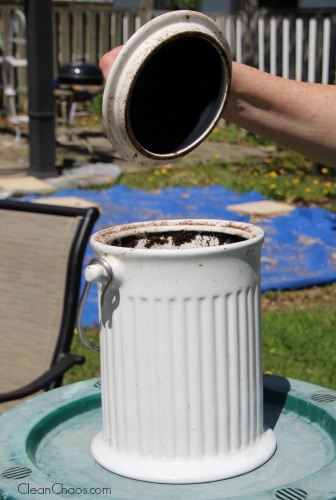 I toss my food scraps into a container like this one. Once it’s full, I take it outside and dump it into my compost tumbler for 30-60 days until it reaches 120 degrees or so. Compost tumblers save your back and many say produce “finished” compost more quickly. I haven’t experienced a quicker finishing time with mine, but I like the convenience factor of the tumbler and I got a great deal on a used one!
 From there, I move it to my larger compost pile where it will where it will decompose further, and has the added bonus of help from earthworms and other “helpers”. These critters both feed on the organic material, and break it down even more.
It’s important to turn the compost to aerate it, and keep it moist with a little water (so that your pile is about as damp as a wrung out sponge). In hot summer months with proper watering and aeration, you can have compost in as little as two months. If you choose to neglect it, that’s fine too – it just takes longer to get the finished product – maybe 6 or 8 months.
 You’ll know your compost is ready when you can no longer see evidence of all the ingredients that you added, and it just looks like garden soil. Start adding it to your gardens, and smile knowing how much money you saved by not purchasing , and how good you are being to the earth!
This is the system that works for me , but there are a lot of different options to choose from. Whatever you decide works best for you will save you money, give your plants a nutritional boost and help the environment!
Consider joining an organic gardening group on FB or if you are in Indiana, check out the Indiana Organic Gardener’s Association (IOGA)! Have fun, and I hope you enjoy making “Gardener’s Gold”!
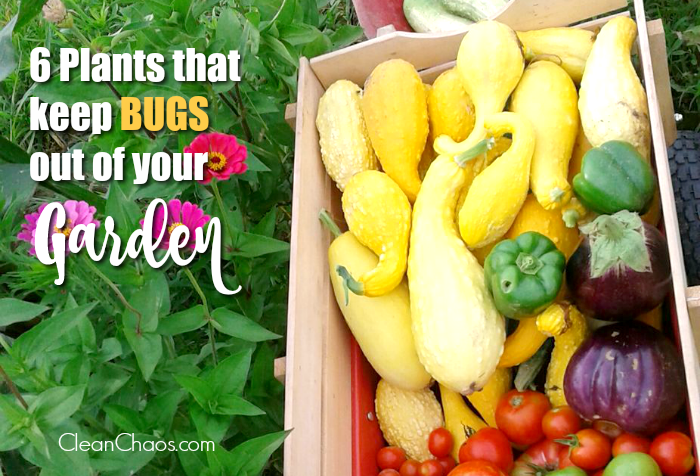
Also check out the plants that keep bugs out of your garden!
About the Author
 Jennifer Kost-Barker has been an avid composter since 2008, when she first saw the systems that St. Mary of the Woods used and their mountain of compost while on a family retreat with St. Peters UCC. She became a certified Purdue Master Gardener in 2009 and is a member of the Indiana Organic Gardener’s Association. She dreams of a world one day in which school cafeterias and restaurants separate out their food waste so that it can be composted!
Leave a Reply